PassEdge offers three types of Quiz Tour features, each adapting automatically based on how content is entered within Umbraco:
-
Non-Location-Based Tour: This type of tour is a collection of information that may not necessarily be related to a specific physical item or location on-site. It provides users with valuable content without requiring them to be in proximity to any particular location. Non-location-based tours can cover a wide range of topics and offer informative experiences to users regardless of their physical location.
-
Location-Based Tour: For location-based tours, a direct association to a location created within Umbraco is necessary. Users are expected to be physically present at a specific object or location on-site. The tour can be triggered through various means, such as Bluetooth beacon detection, scanning QR codes, or manually entering a LocationID. Location-based tours are flexible and can be configured without trivia questions or badge rewards. However, when trivia questions and badges are added, the tour automatically updates to incorporate this interactive content.
-
Media Tour (Development Paused): The Media Tour feature is designed to function as an Umbraco-hosted media player for audio/video tours. At this time, the development of this feature is paused. As an alternative, PassEdge recommends using a Single-URL browser feature to link to an external, mobile-friendly media playlist for audio tours. This approach ensures a seamless user experience while audio tours within the app are being developed.
Theming
Please see Experiences within the Theming section.
Experience 'Loop'
In every experience within PassEdge, excluding the Single-URL Browser feature, a consistent set of panels is used, which are dynamically re-themed for each tour. These panels feature animated logos, buttons, panels, and mascots to create an engaging and visually appealing experience for users.
The tour loop begins with a Title Panel, introducing the tour and setting the context for the user. From there, the user moves to a Description Panel, providing more detailed information about the tour and what to expect. Afterward, the tour proceeds to a Navigation Panel, which serves as the central hub for navigating through the tour's content.
Non-location based tour
An example of a non-location based tour would be the "Colorado State Symbols" tour from the Denver Museum of Nature and Science:
The tour begins with the Title Panel:
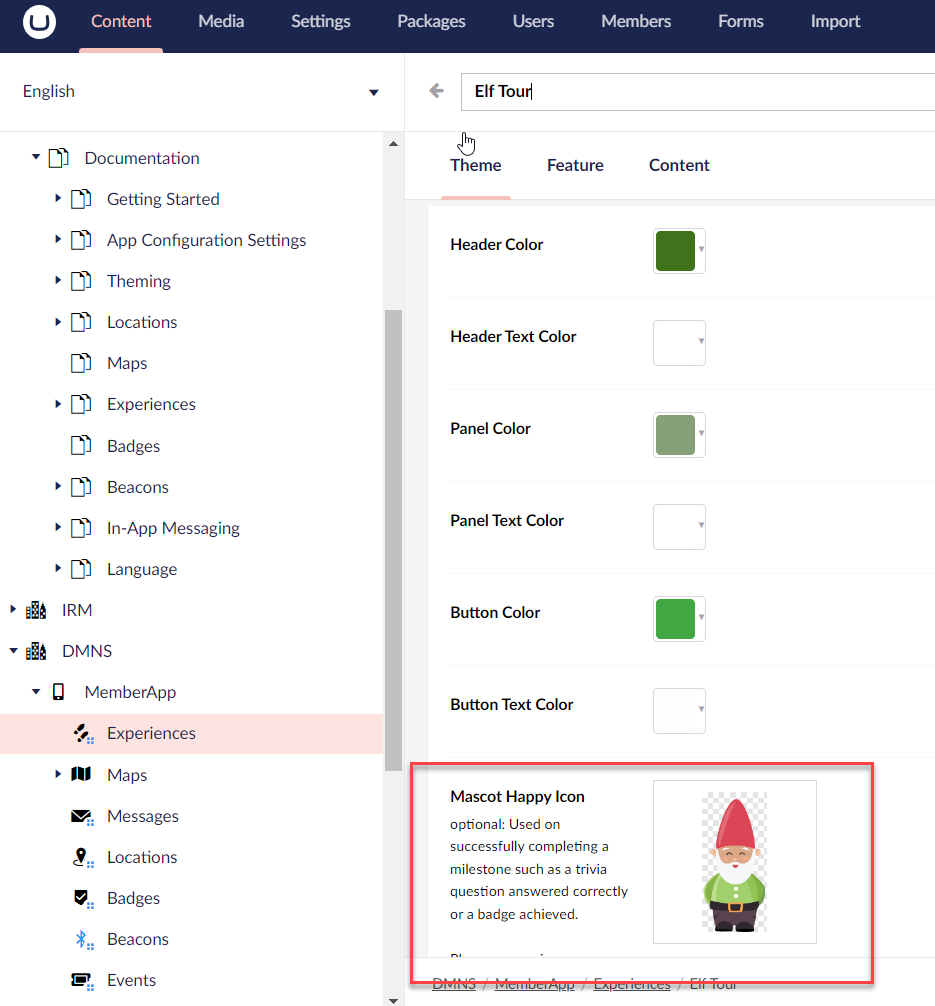
The Logo displayed on this panel is set under the "Feature" tab within an experience. Also highlighted here is the icon that displays within the experiences "drawer." Note that these icons can have an empty background (alpha) with drop shadows applied.

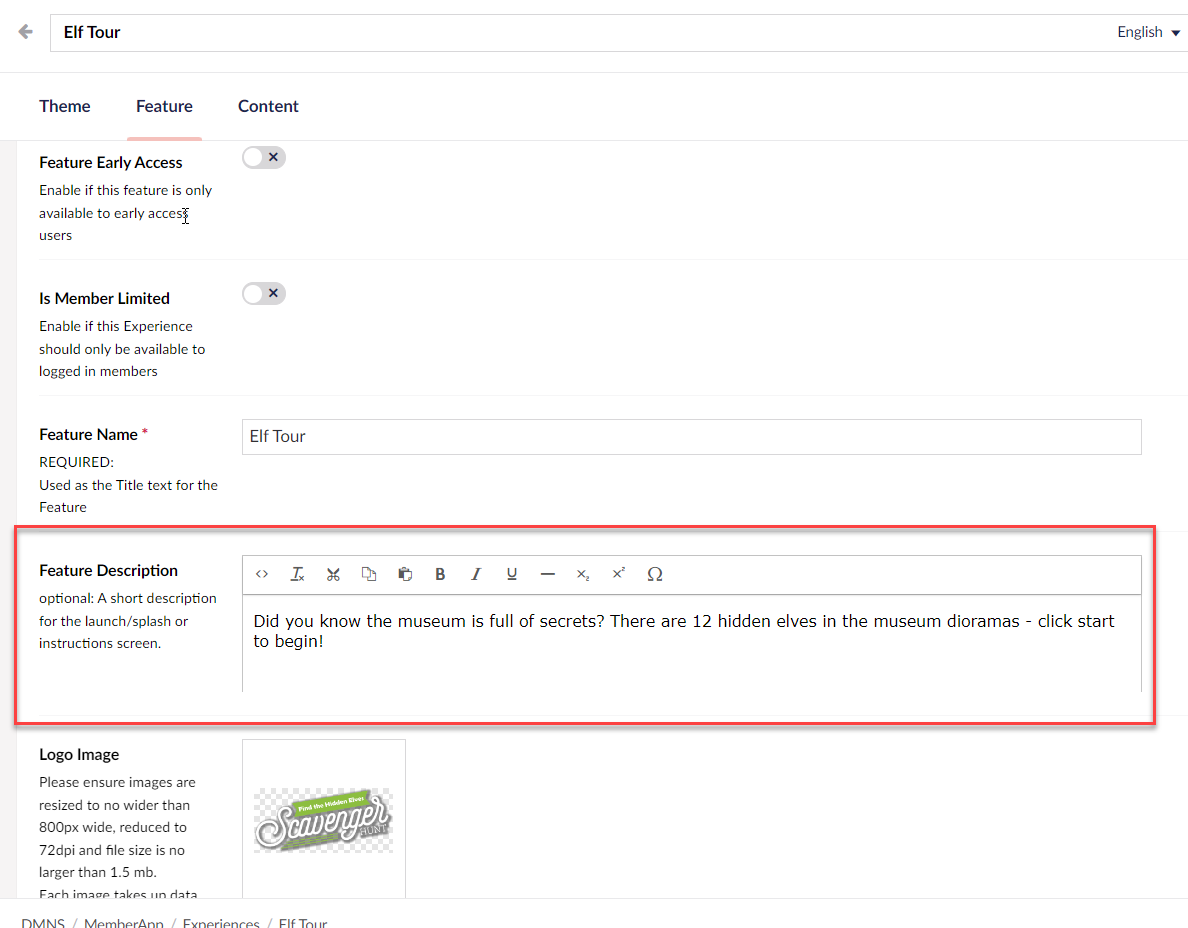
After the user selects 'Begin,' they will move to the Description panel:


In a non-location based tour, the navigation panel becomes a scrollable list of icons.
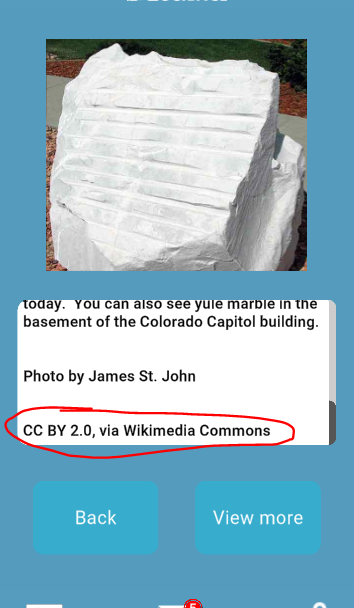
Selecting an icon opens a scrollable description panel
Here the user is automatically presented with a back button, which returns the user to the navigation panel.
It is possible to provide the user with a button that links to additional content on the web. This button displays automatically when a link is added to the Content URL section (see photo below)
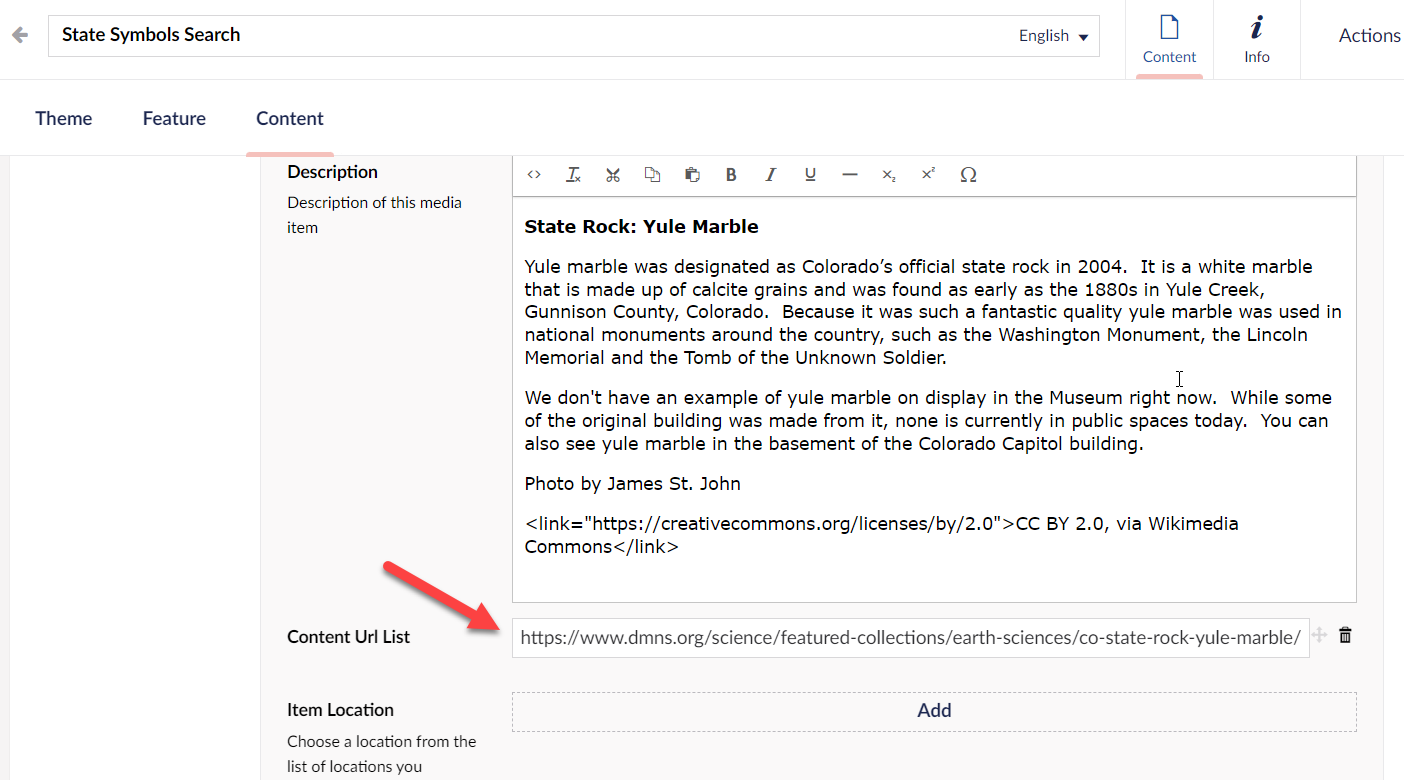
Adding links in the description panel
It is possible to use the <link> tag within umbraco description fields to allow for external links to the in-app browser section.
Example:
<link="https://creativecommons.org/licenses/by/2.0">CC BY 2.0, via Wikimedia Commons</link>
Location-based tour (including beacons)
An example of a non-location based tour would be the "Elf Scavenger Hunt" tour from the Denver Museum of Nature and Science:
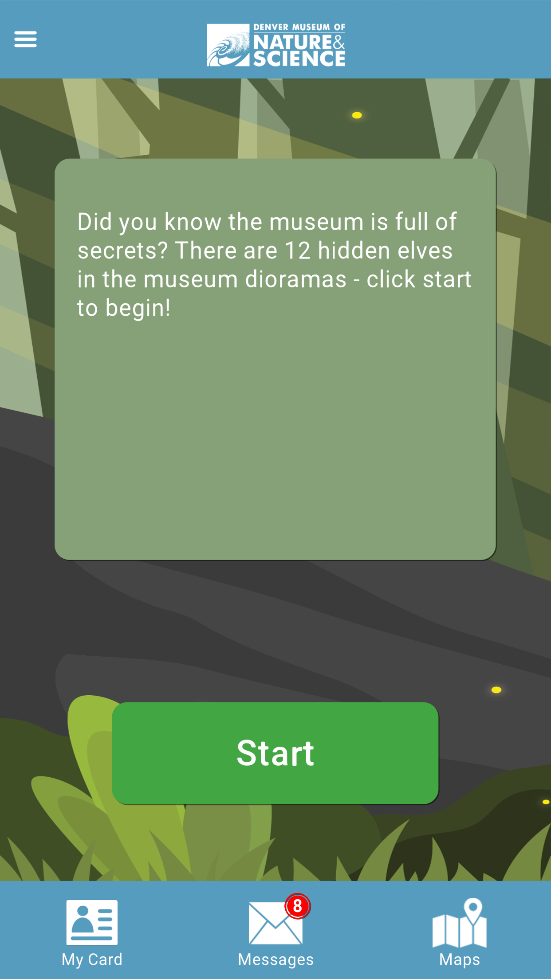
The tour begins with a Title panel and uses the "Happy Mascot" image to animate in from the right side of the screen:
Selecting Begin brings up the Description panel:
Selecting start will bring up a new kind of Navigation panel:

As long as Bluetooth is enabled, this animated screen will display while the phone is actively scanning for a bluetooth beacon.
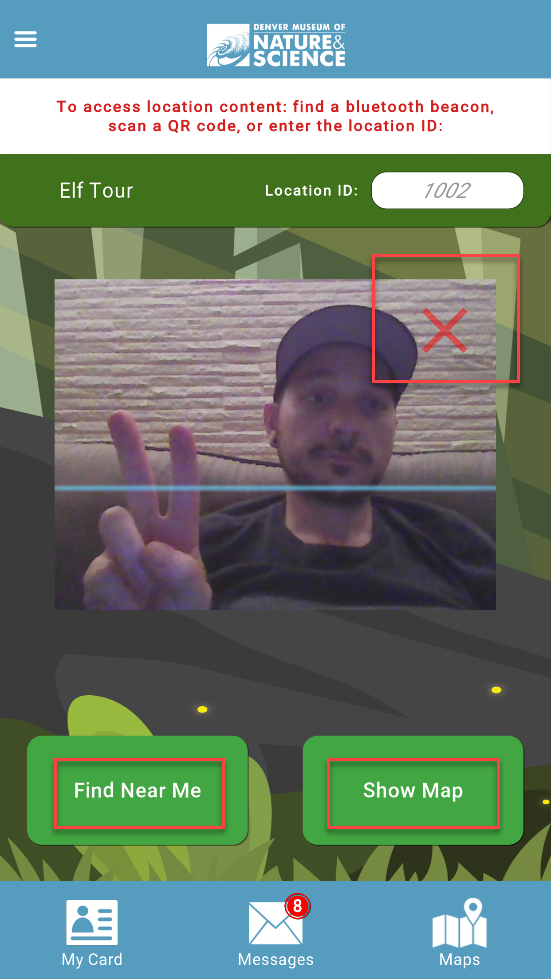
If Bluetooth is disabled, or the user selects the "Scan QR Code" button, a panel displays that prompts the user to enable the camera:
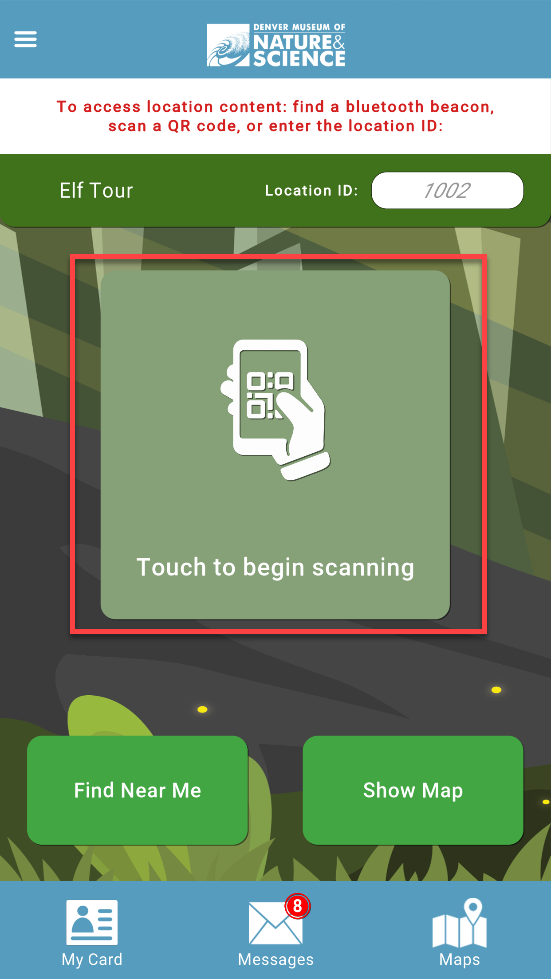
Users can close this view using the 'X' in the upper right corner of the image. Selecting "Find Near Me" will return to the bluetooth scanning panel.
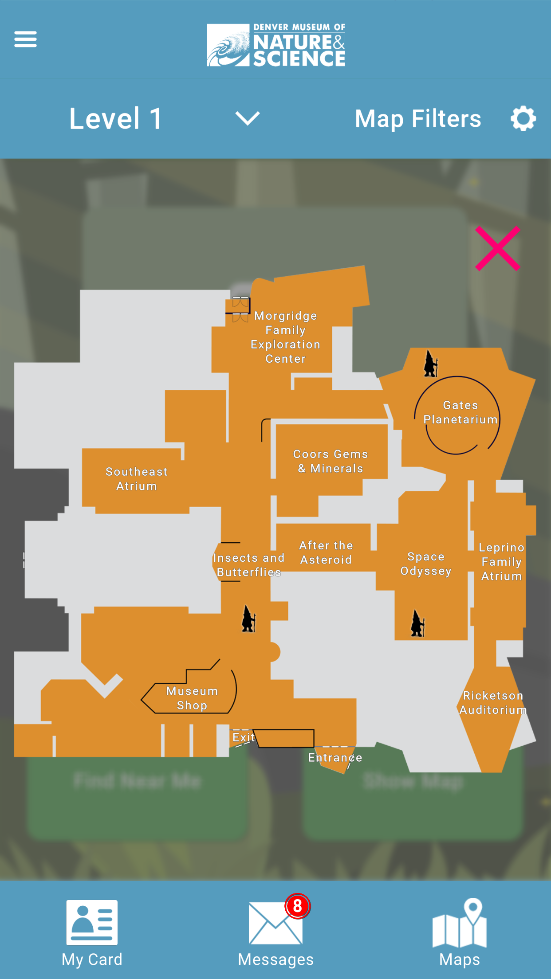
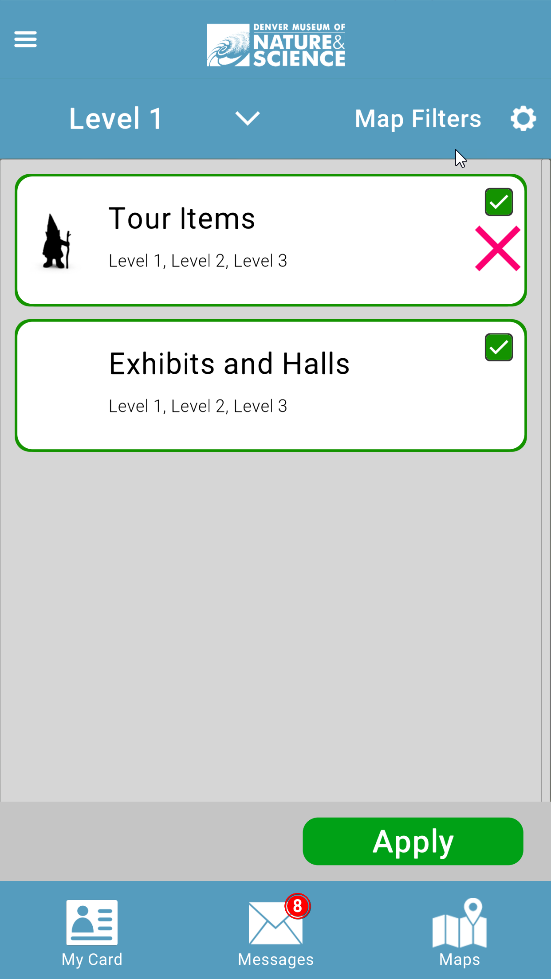
"Show Map" will navigate to the maps section, however it will be scoped within the experience and only display map labels and locations that attached to this experience:

Upon discovery of a bluetooth beacon, camera scan of a QR code, manual LocationID entry, or using the location on the map, the app will navigate to the 'Location Found' panel:
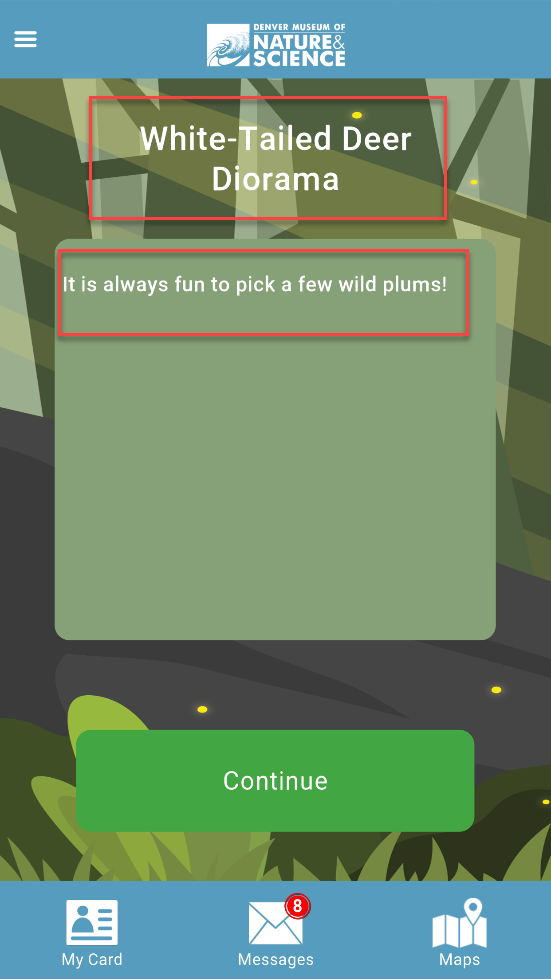
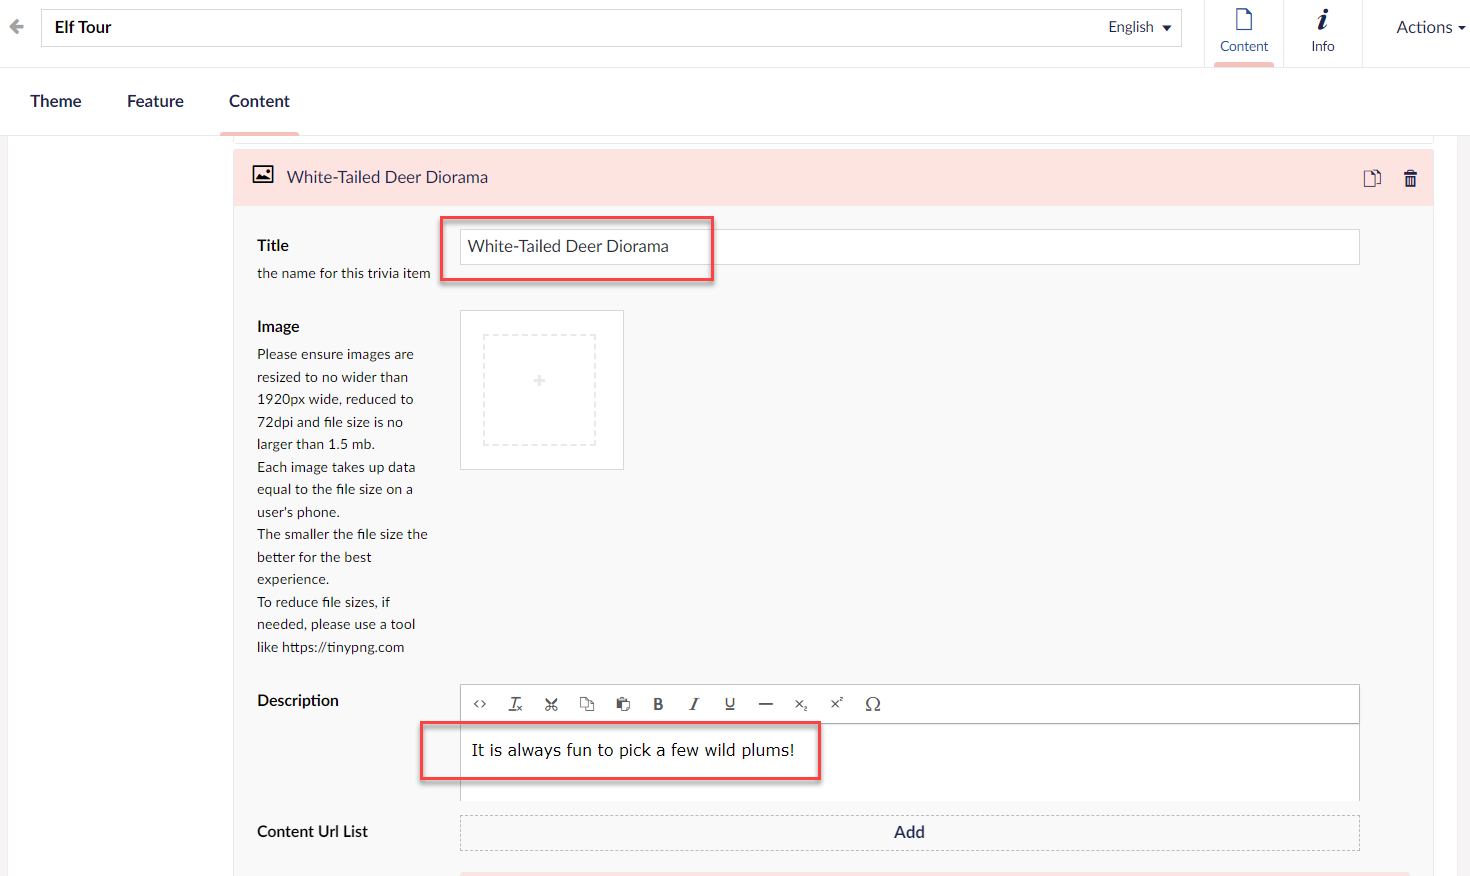
Within Umbraco, you can see a collection of locations, and we've found "White-Tailed Deer Diorama"
If no quiz details are used, the Continue button will move the user back to the Navigation panel.
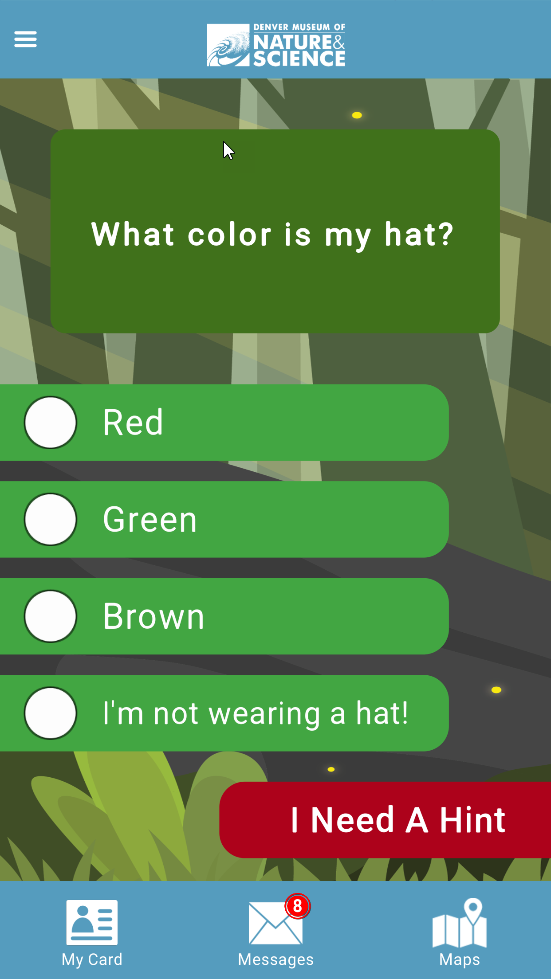
If quiz details are used, the user will proceed to the Quiz panel:
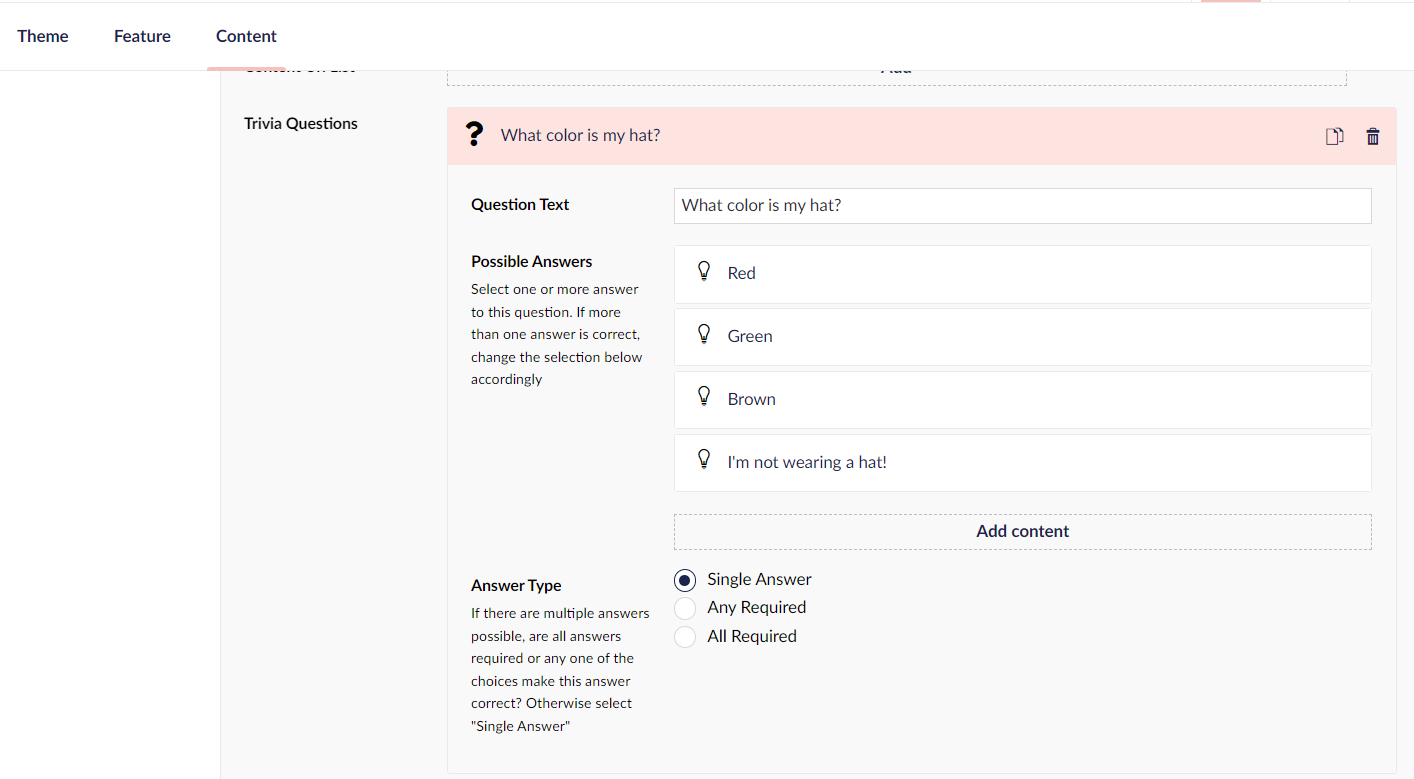
Quiz Details
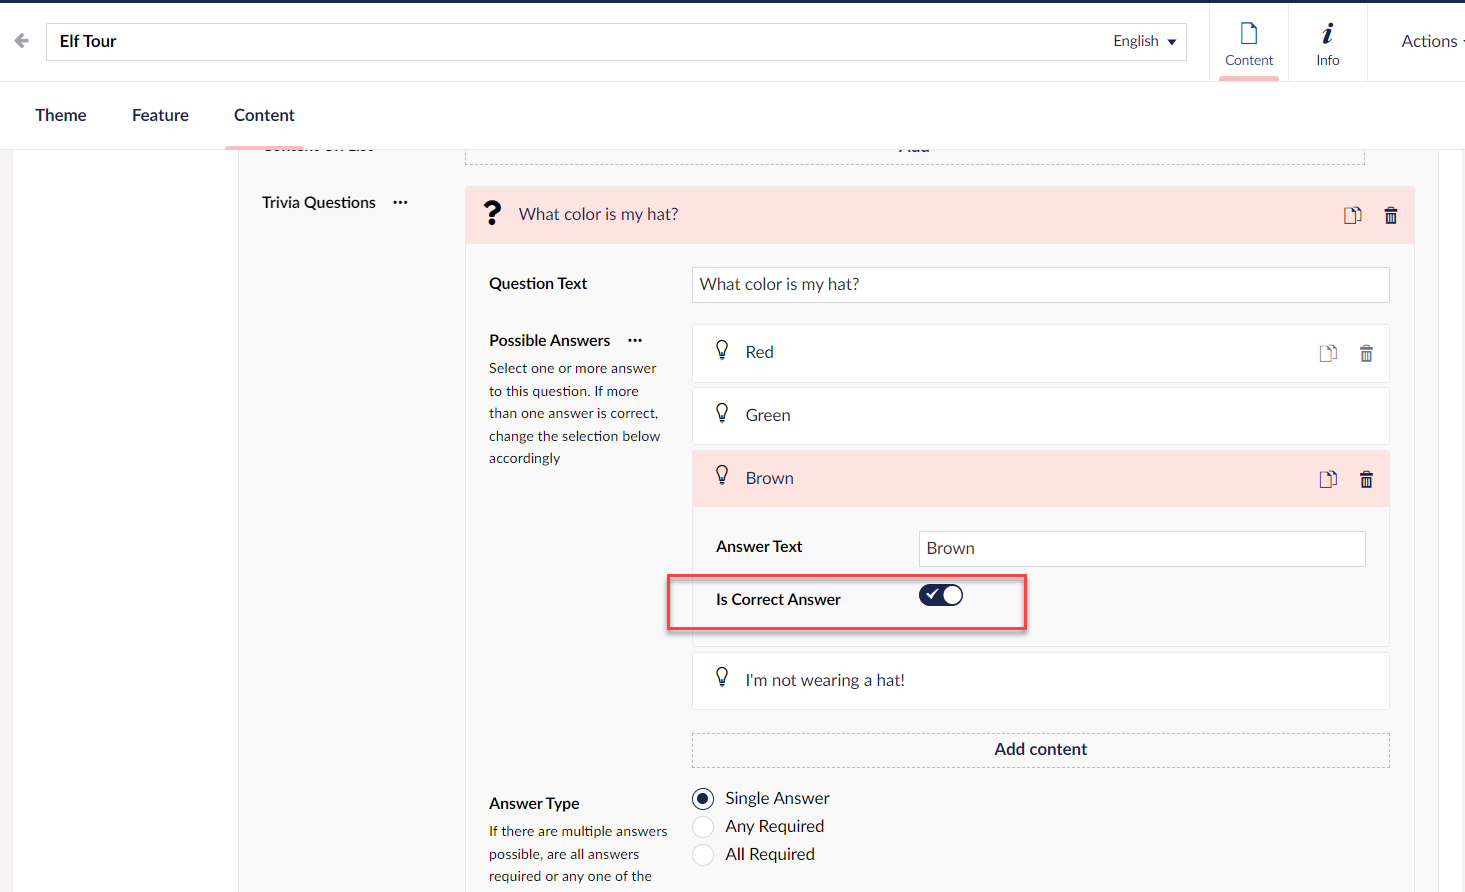
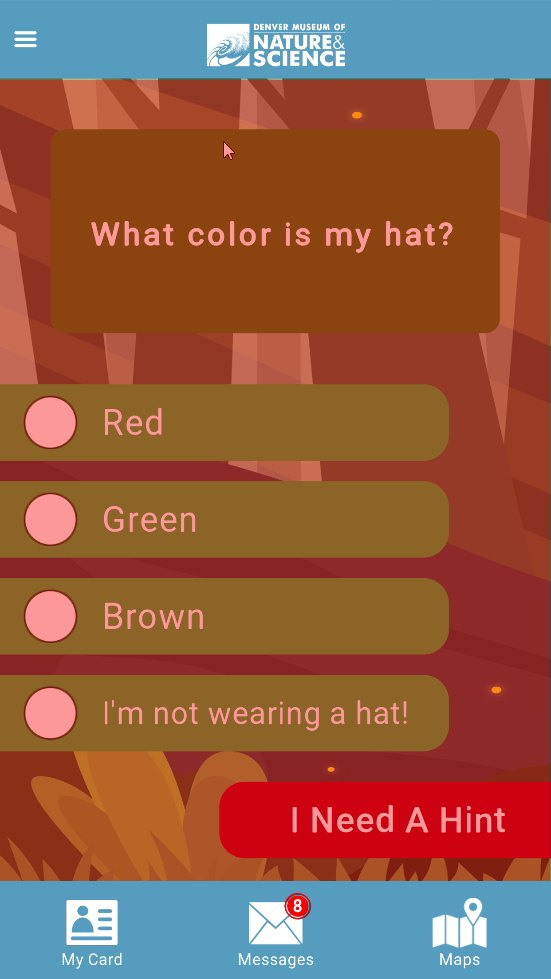
The Quiz panel consists of a question, multiple choice answers, and a help button. Within Umbraco, ensure that one answer is selected as correct:
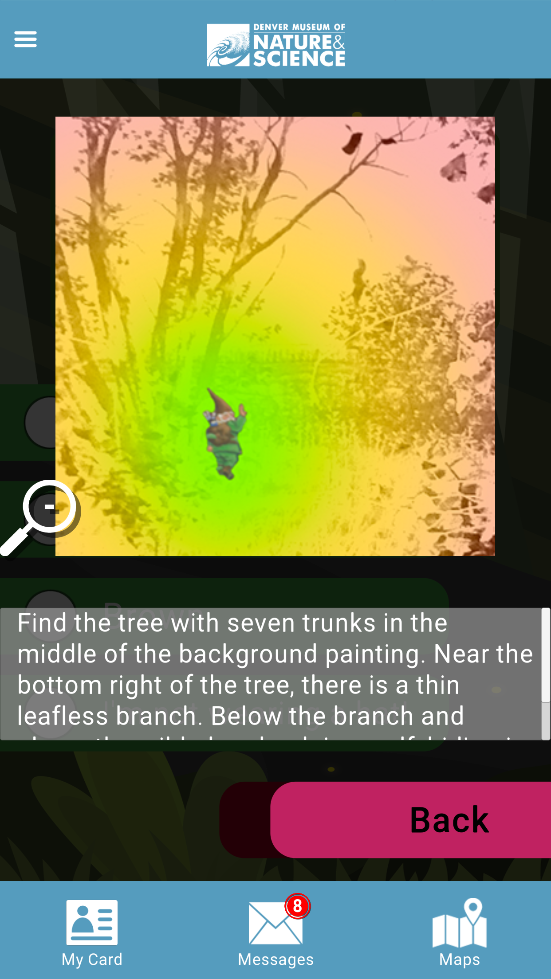
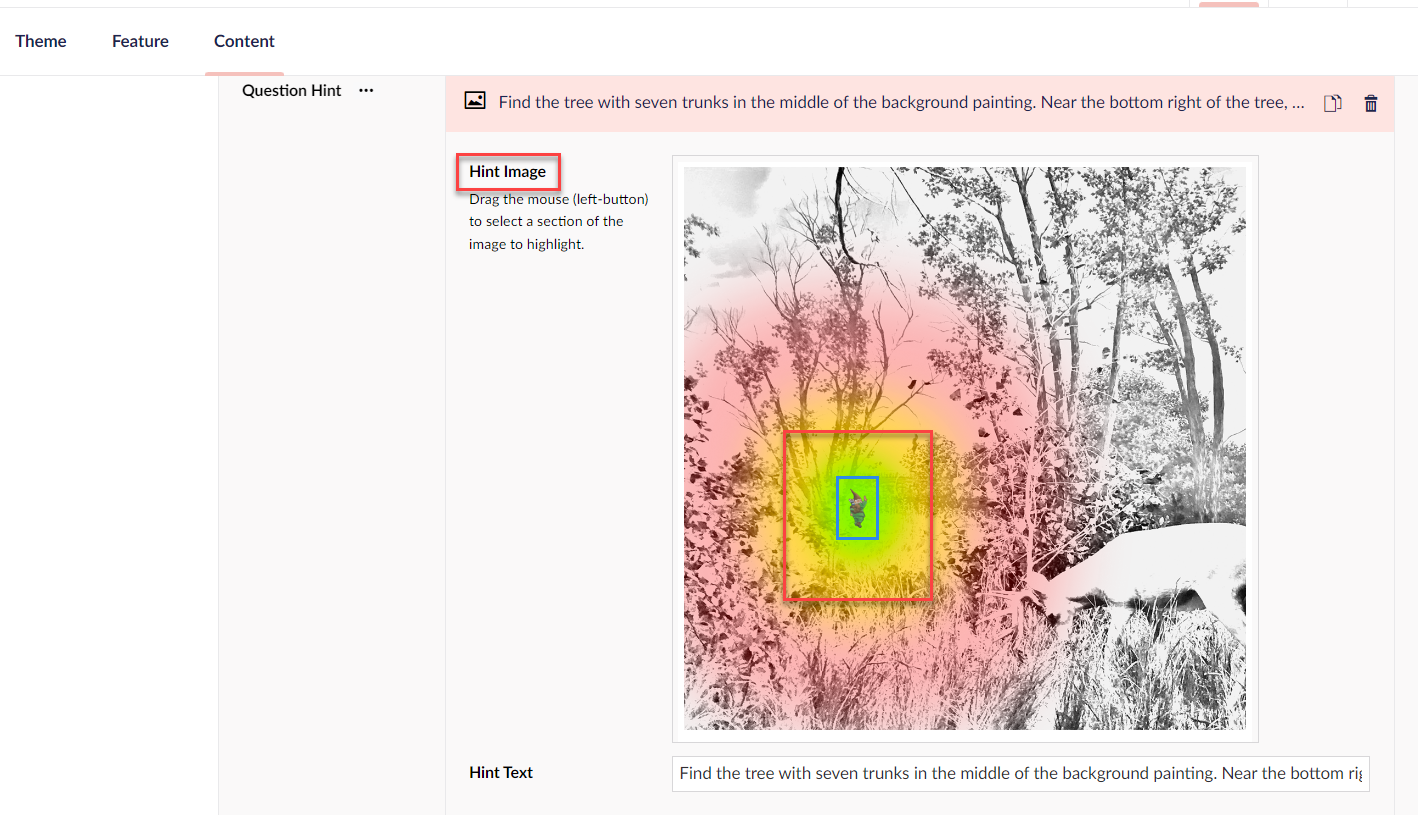
Selecting "I Need A Hint" will display a Hint panel, which consists of an image, scrollable description box, and back button. When adding the Hint Image, you'll want to draw a box with our mouse on this image, which highlights a specific point in the image. This is similar to adding locations within the Maps section. When the user selects the magnifying glass icon, the app will zoom/animate to the location selected on the image:

When the user selects the wrong answer, the screen will flash red and play a warning tone:
When the user selects the correct answer, animated confetti will display, along with the associated badge, which will display within the Badges section of the app. Selecting continue will return the user to the navigation section.


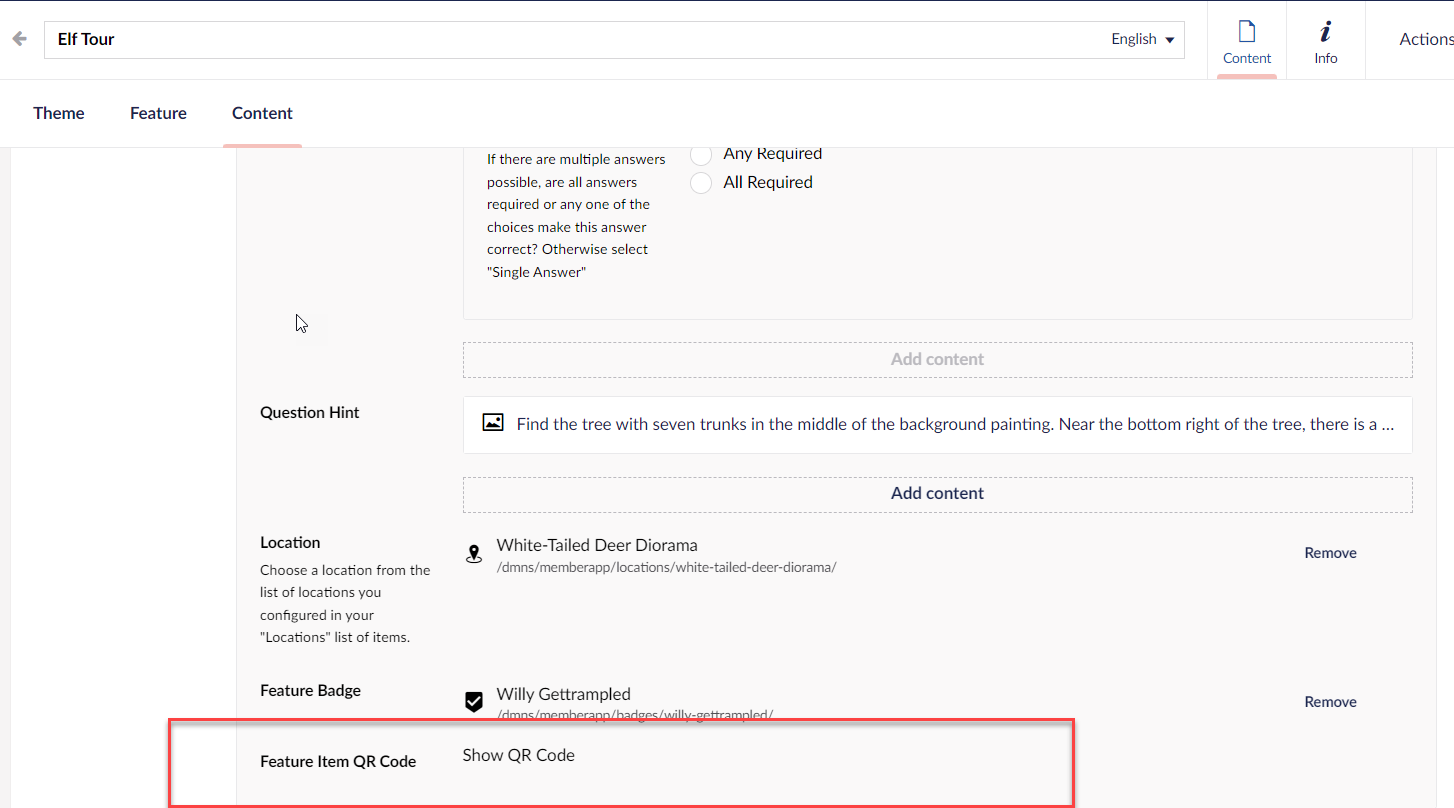
Location QR Codes
Umbraco can automatically create the QR codes needed for on-site location scanning. This feature is found on the content tab for each tour feature location: